by Lillian May 18,2025
The Sega Master System, an iconic 8-bit gaming console that rivaled the NES, brought fans a plethora of amazing games. From exclusive titles to unique versions of classics like Golden Axe, Double Dragon, and Streets of Rage, the Master System offered a rich gaming experience. It even pushed its boundaries with games like Mortal Kombat and Asterix & Obelix, delivering performance comparable to 16-bit Megadrive/Genesis titles of the era.
For retro gaming enthusiasts, playing Sega Master System games on modern hardware can be challenging. However, the powerful Steam Deck, combined with the versatile EmuDeck software, makes this not only possible but enjoyable. Here’s how you can set up and enjoy these classic games on your Steam Deck.
Updated January 15, 2024, by Michael Llewellyn: While the Steam Deck can easily handle Sega Master System games, replicating the precise performance of an 8-bit console can be tricky. This is where Decky Loader and the Power Tools plugin come in handy. EmuDeck developers highly recommend installing both for an optimal retro gaming experience. This guide has been updated to include detailed installation steps and a fix for restoring functionality after a Steam Deck update.
 Before you dive into installing EmuDeck on your Steam Deck for Sega Master System games, make sure you have the right tools and settings in place for a smooth setup:
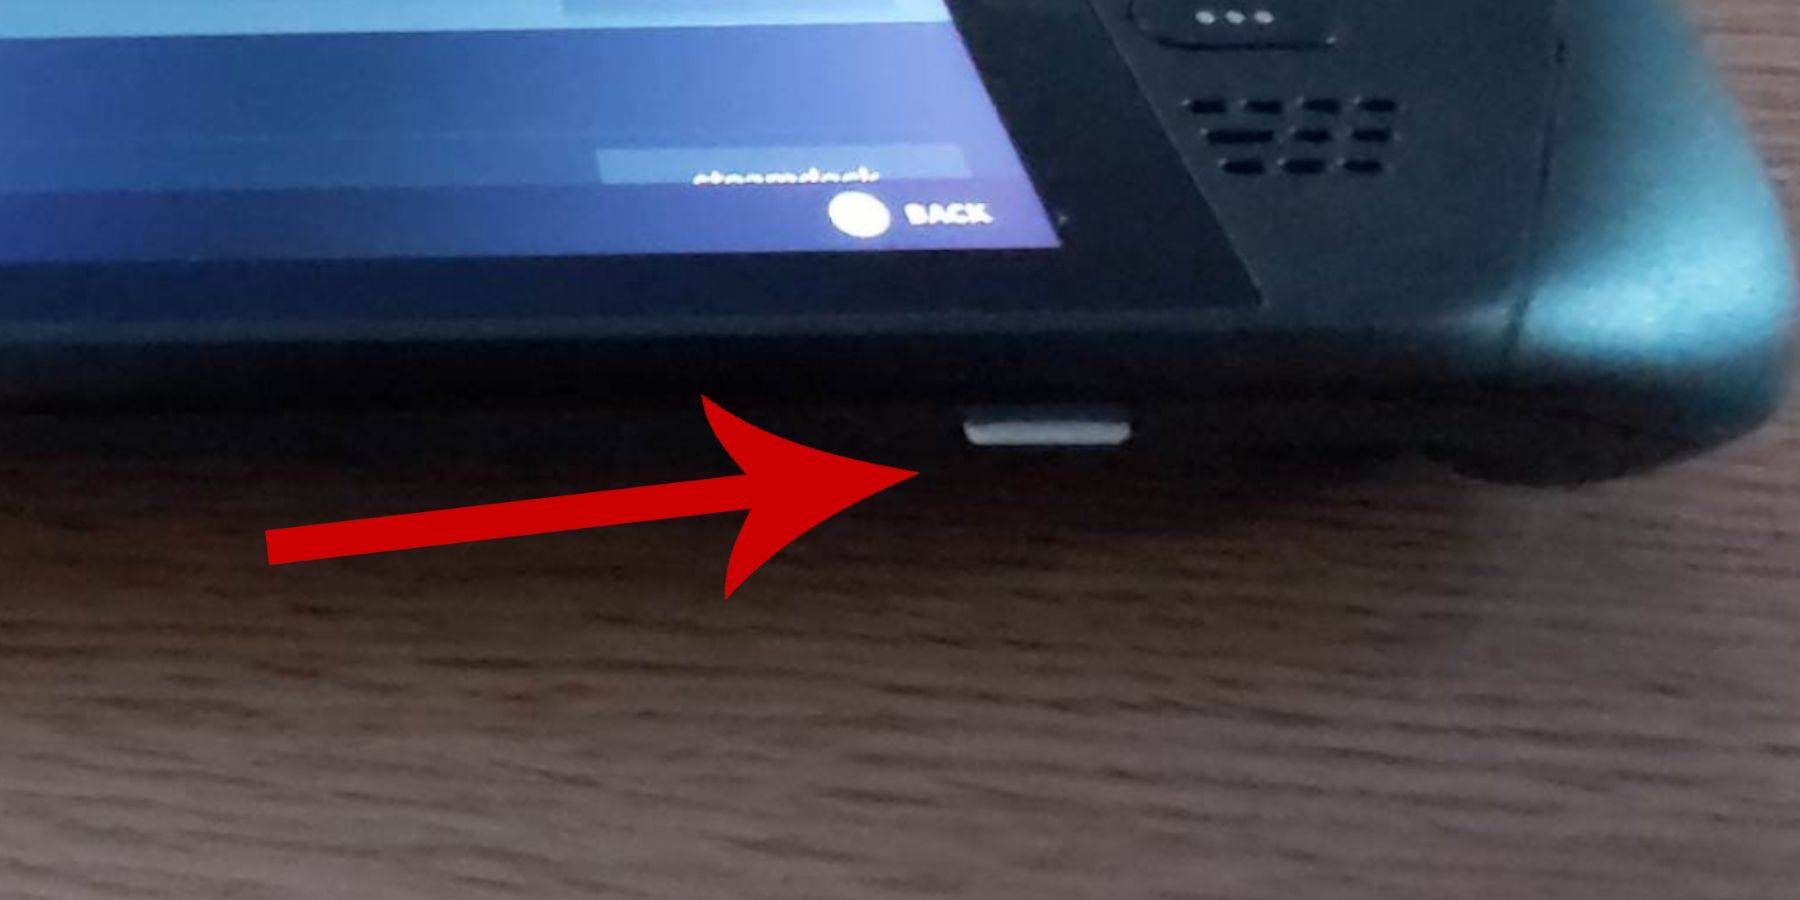
To ensure your emulators run smoothly and your games play correctly, activating Developer Mode is essential:
 - Find the Developer menu at the bottom of the access panel.
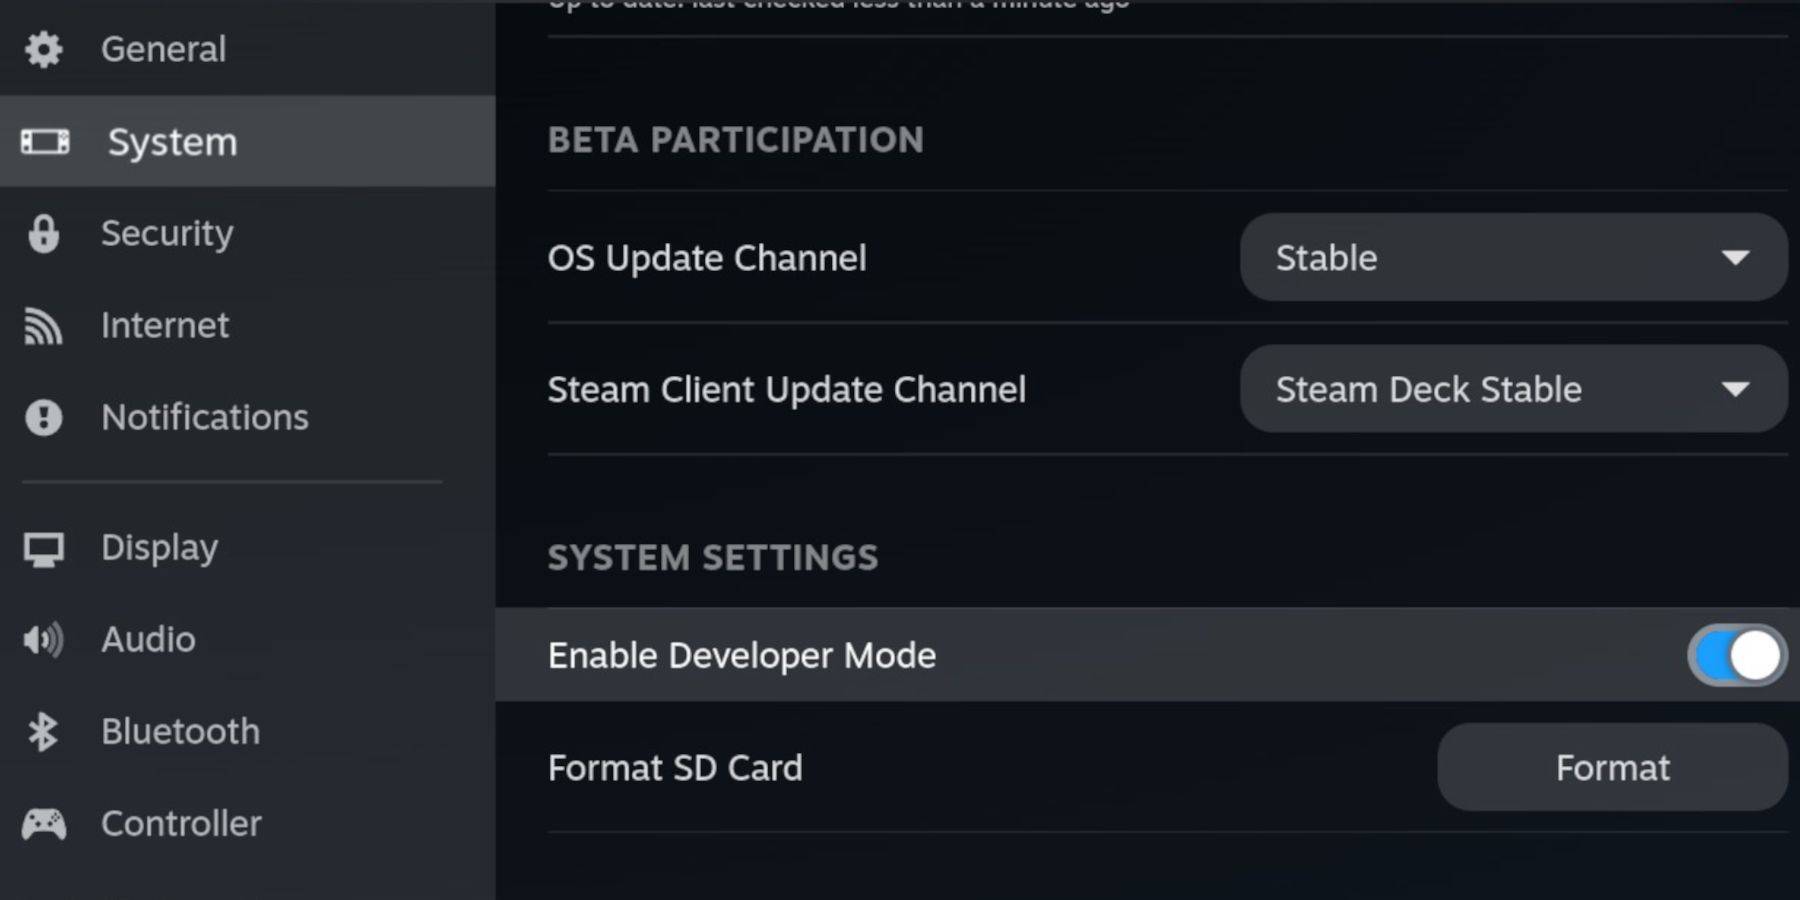
Remember, CEF Remote Debugging may become disabled after updates, which can affect plugins and emulators. Always check the Developer Menu post-update to ensure it's still enabled.
 - Access the side menu by pressing the Steam button below the left trackpad, then select Power and switch to Desktop Mode.
RetroArch serves as a universal frontend for emulating various classic gaming systems, accessible under the 'Emulators' tab in your Steam library.
With Retroarch and EmuDeck set up, it's time to add your Sega Master System ROMs to the designated folders:
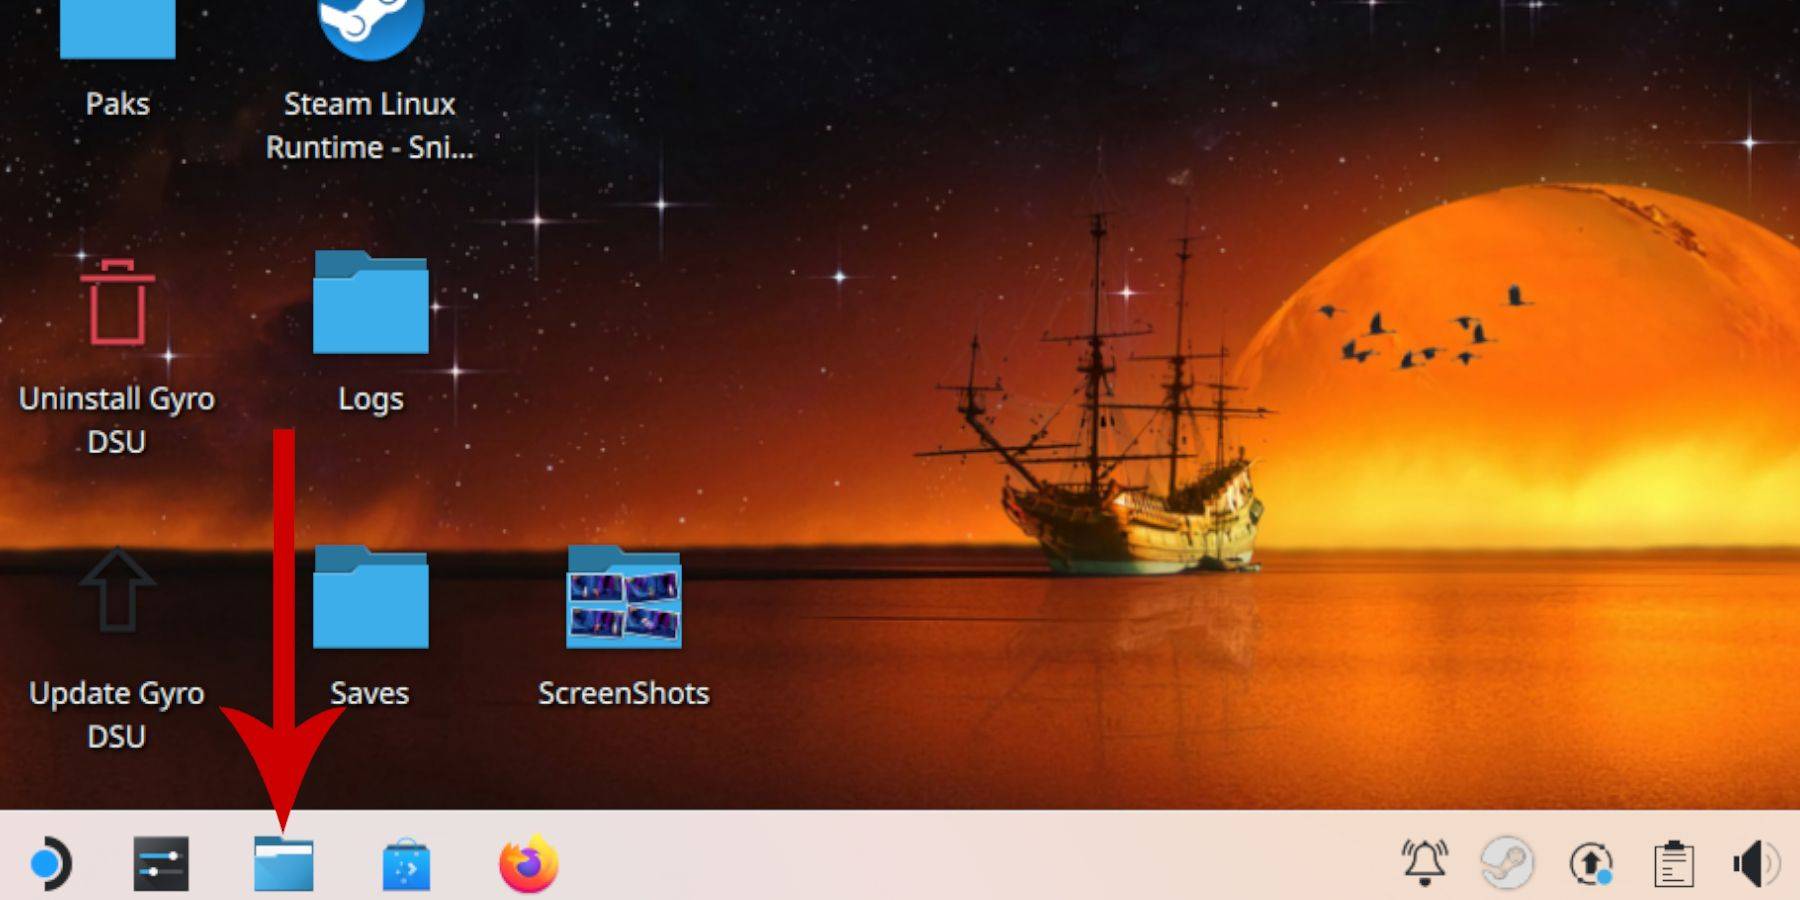 - In the left panel, scroll to Removable Devices and open the SD card labeled Primary.
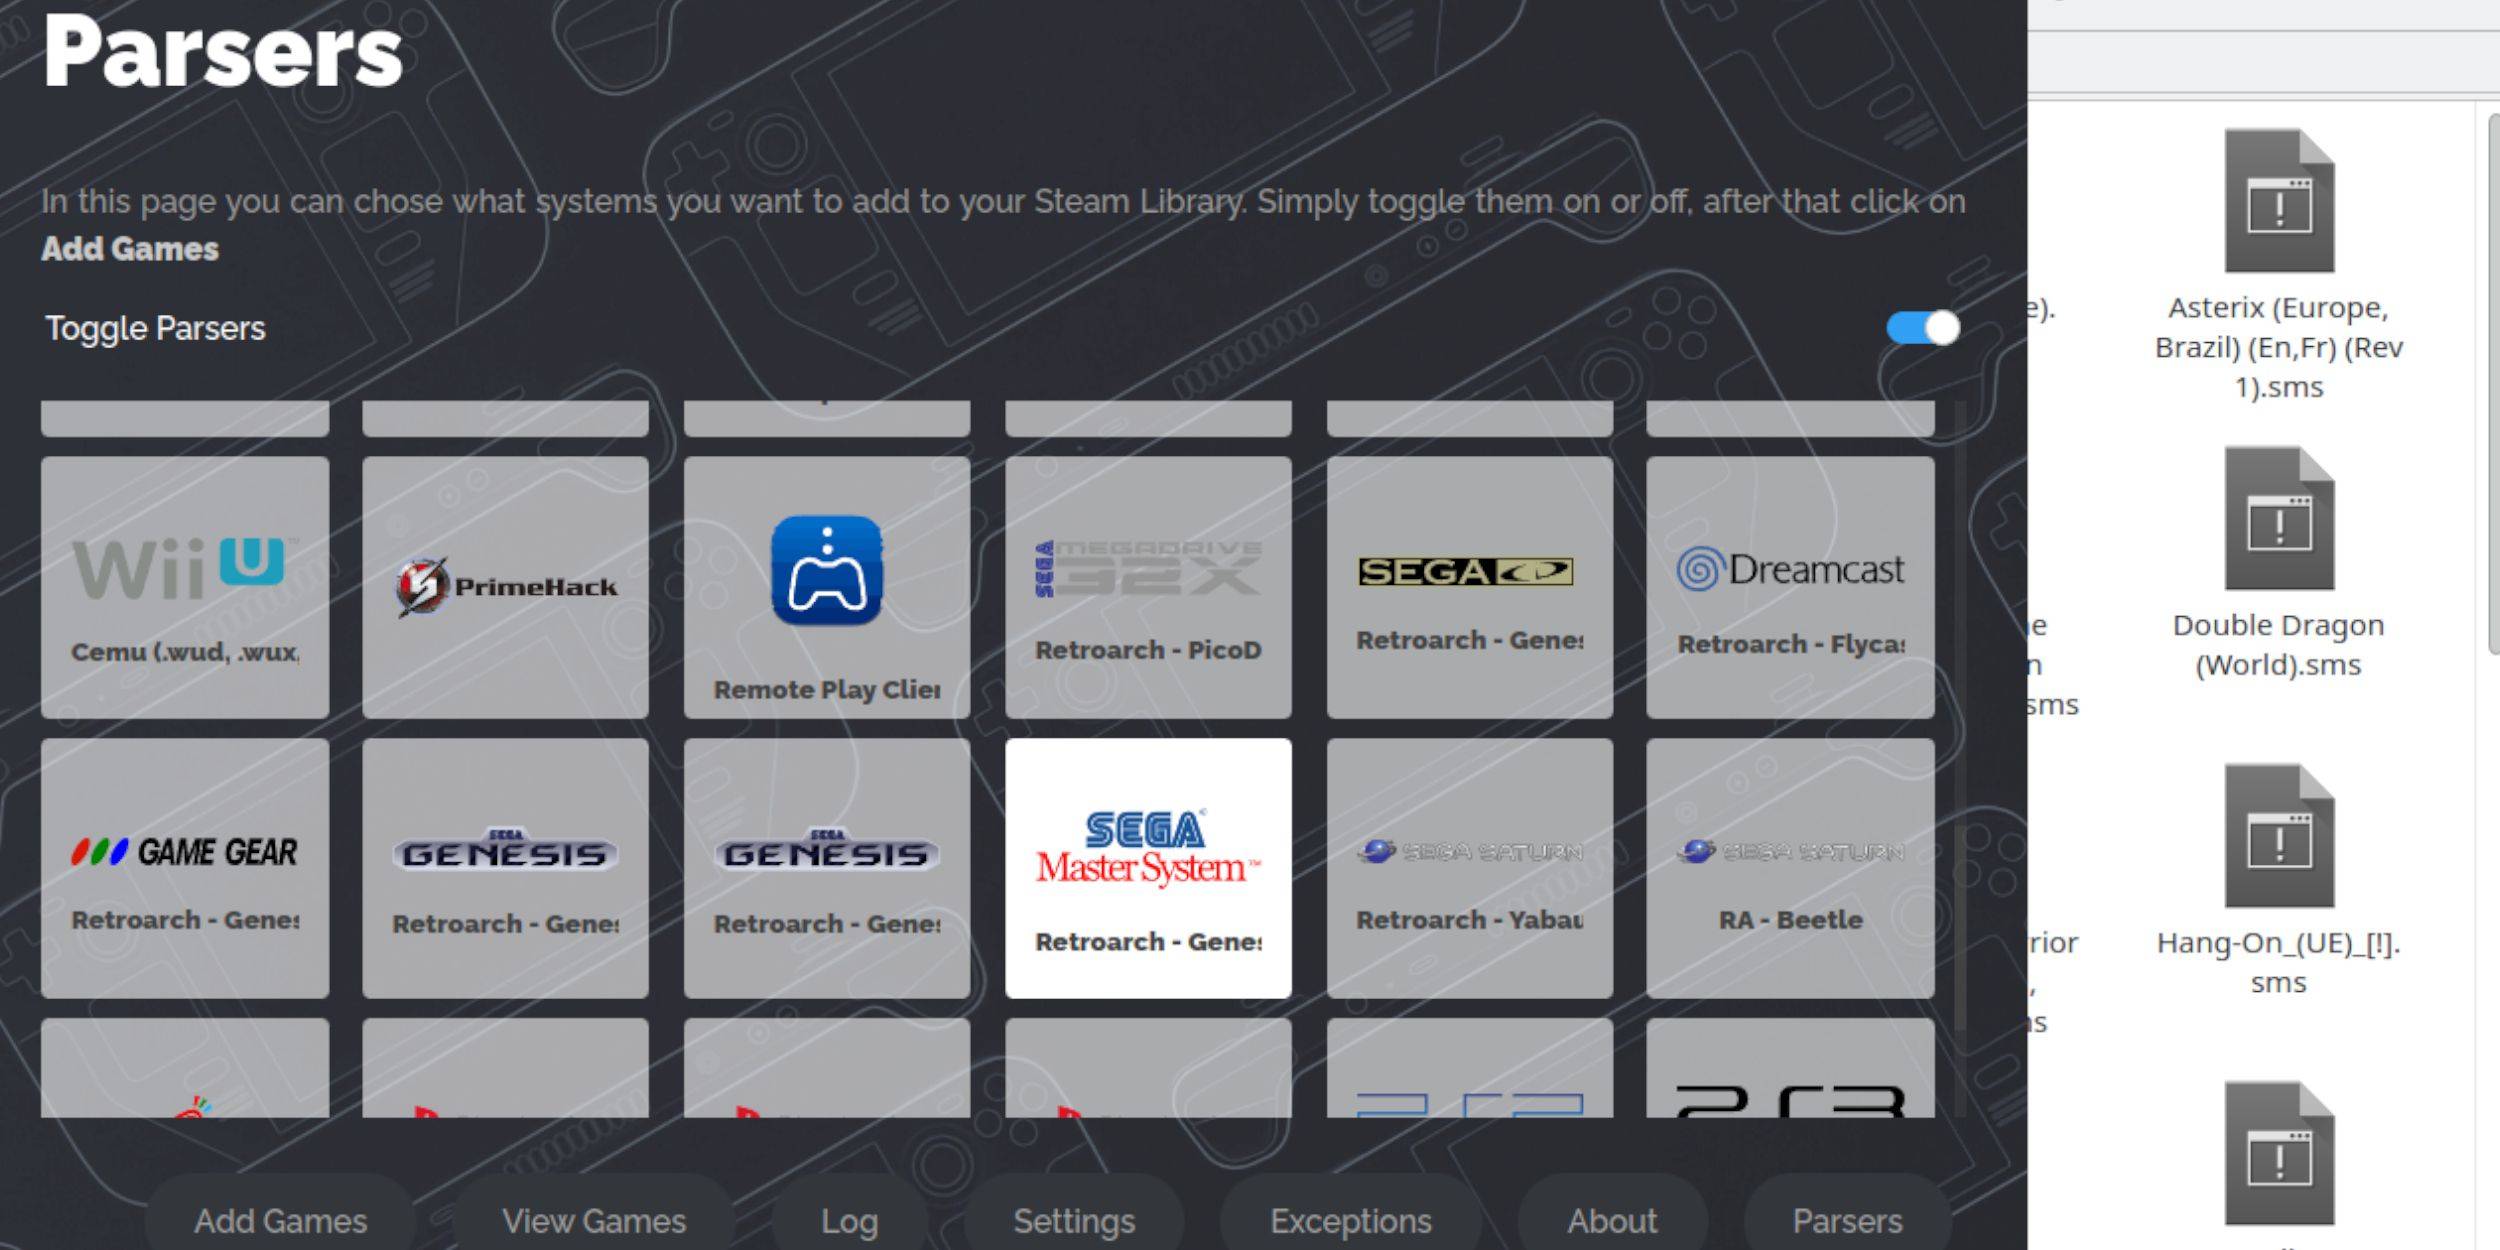 While you can play Sega Master System games directly from Retroarch in Desktop Mode, integrating them into your Steam Library allows you to play in Gaming Mode:
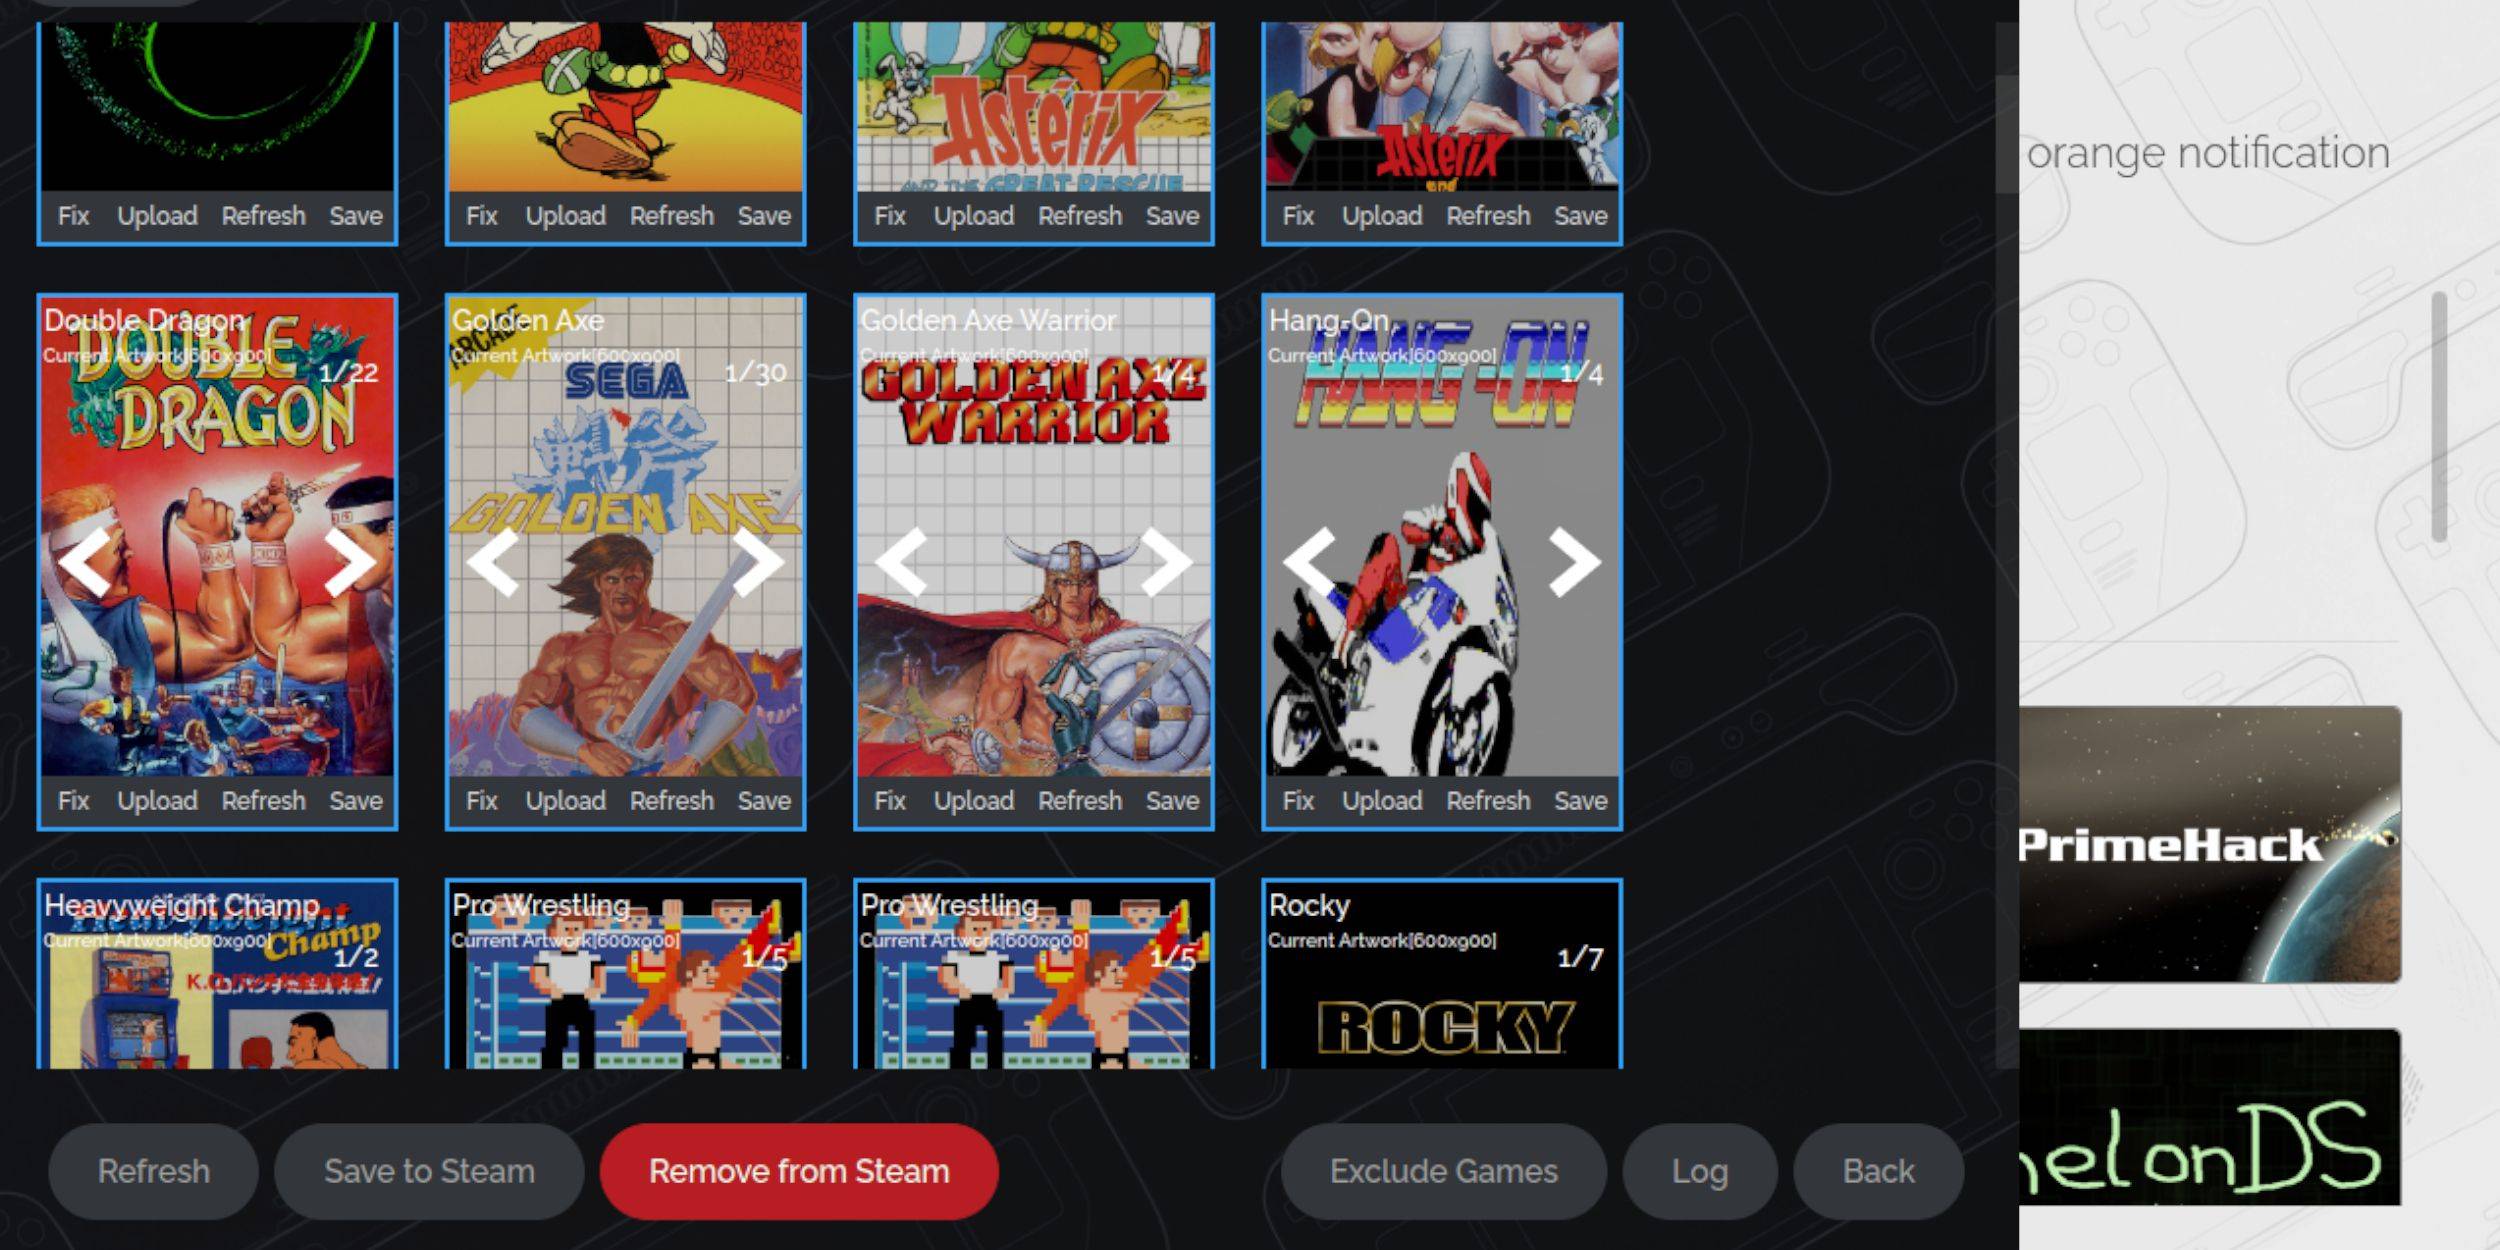 Given the age of the Sega Master System, you might encounter missing or incorrect artwork. Here's how to fix or replace the cover art:
If the Steam Rom Manager can't find the right artwork, follow these steps to upload it yourself:
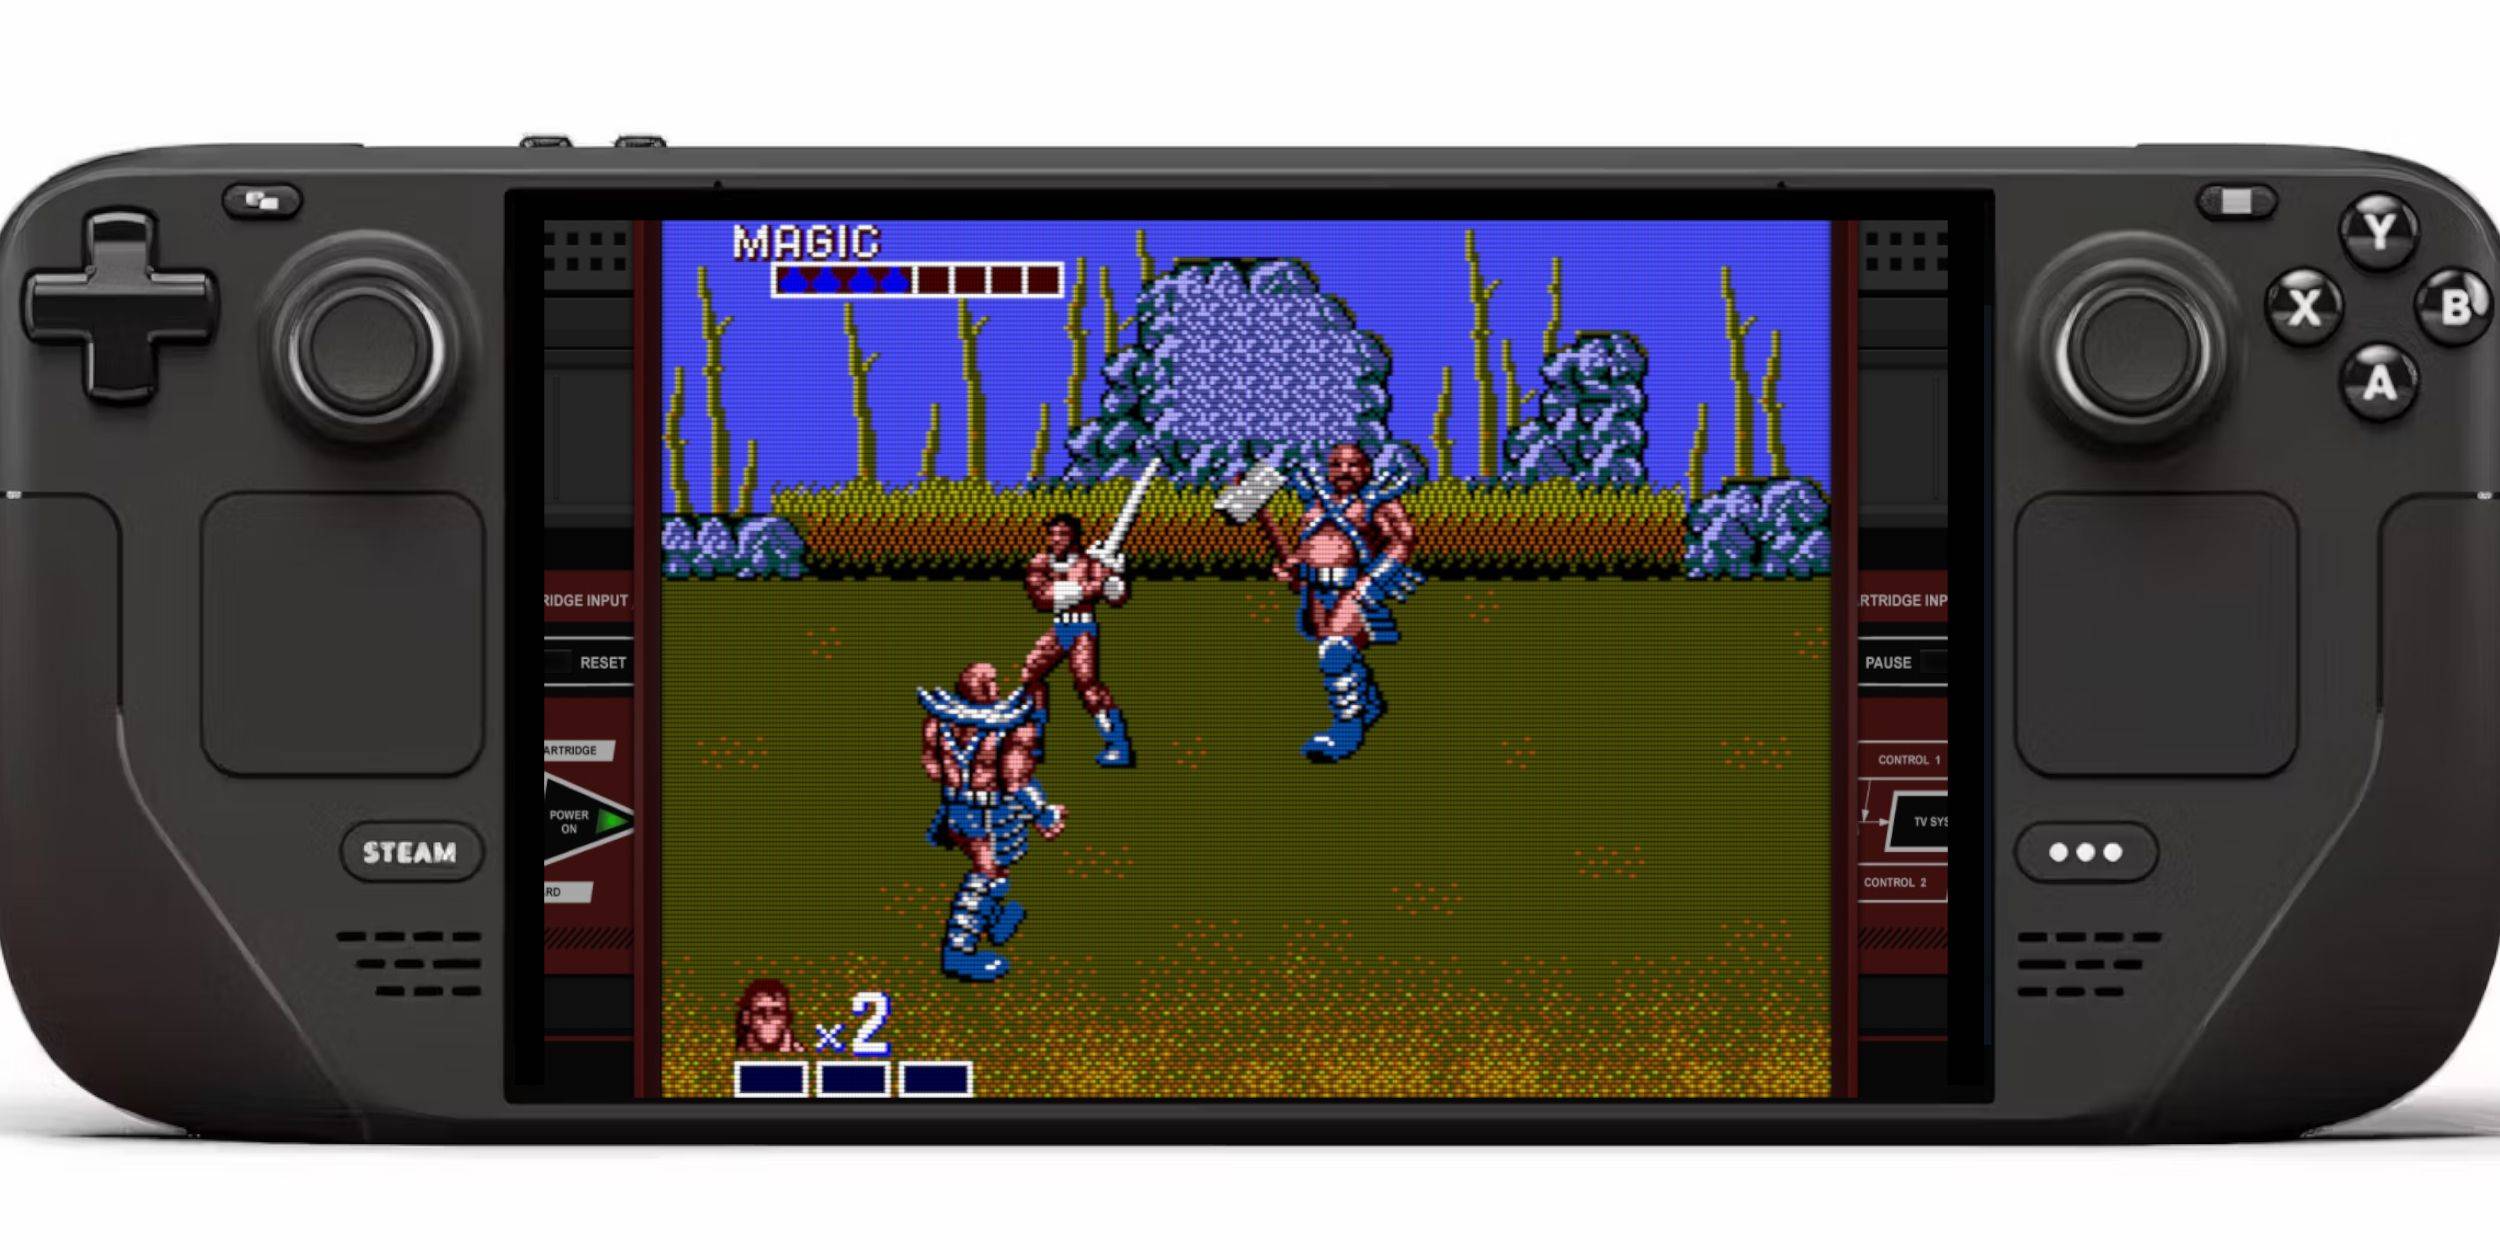 After the Steam Rom Manager has added the covers and game artwork to your Steam library, you can enjoy your emulated games just like the official ones:
Some classic games may experience stuttering or frame rate issues on the Steam Deck. Here’s how to improve their performance:
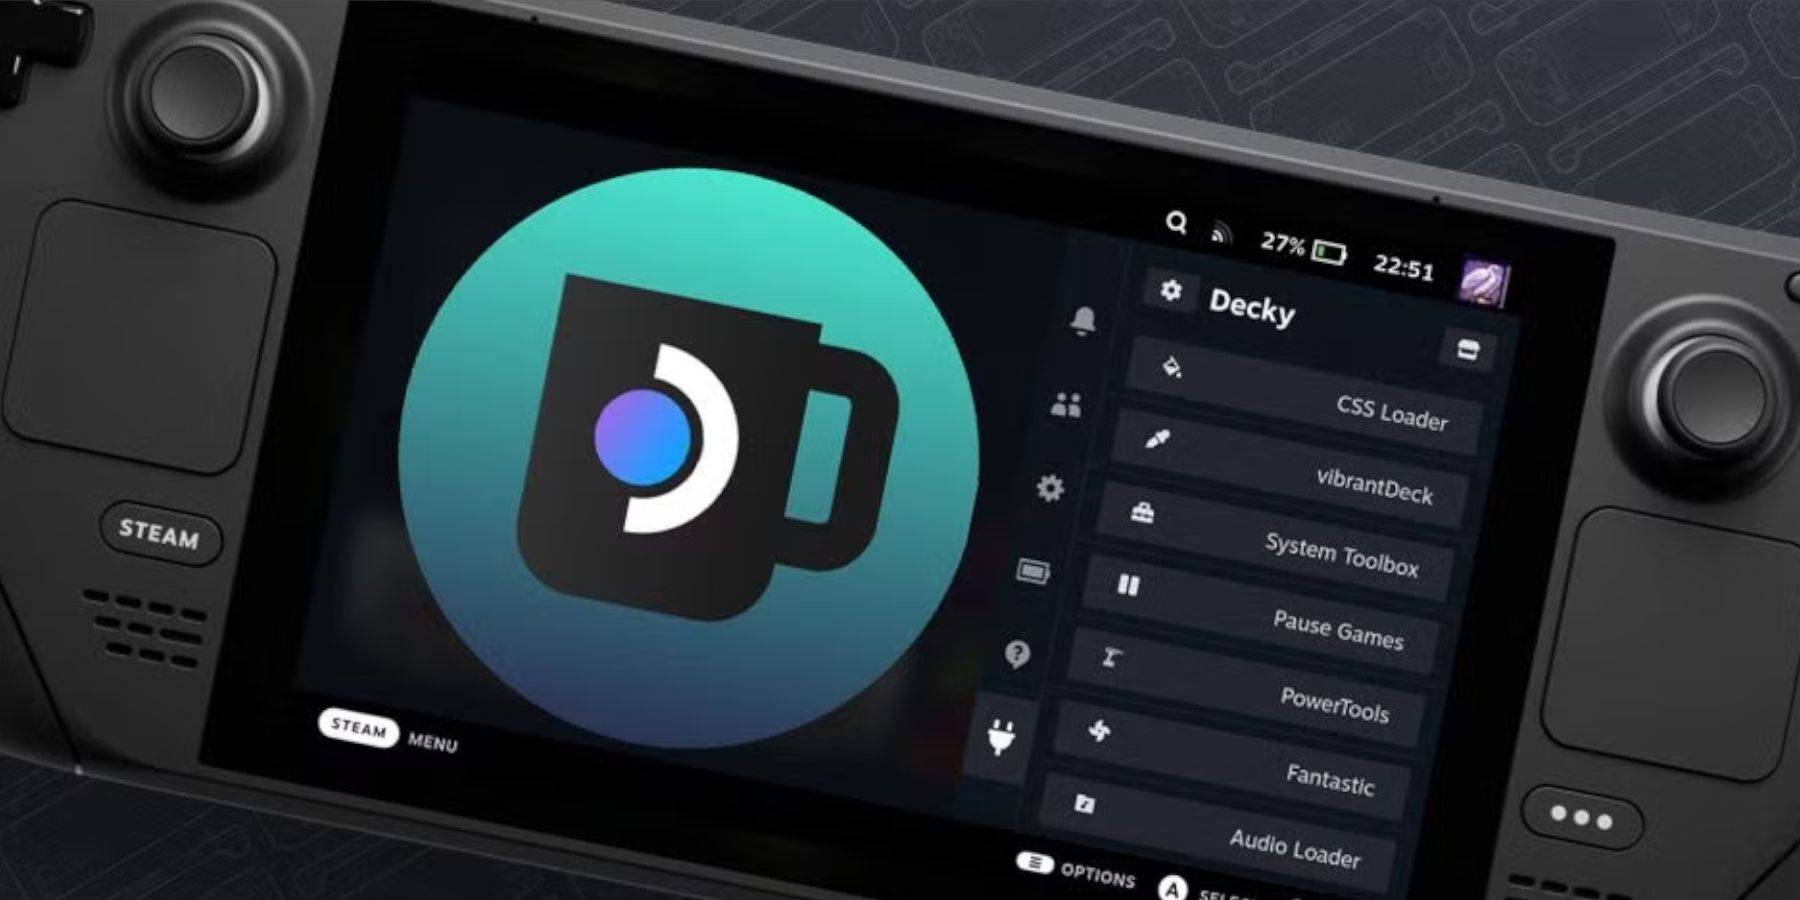
 EmuDeck developers suggest installing Decky Loader and the Power Tools plugin for enhanced control and performance when playing emulated games. Here's how to set it up:
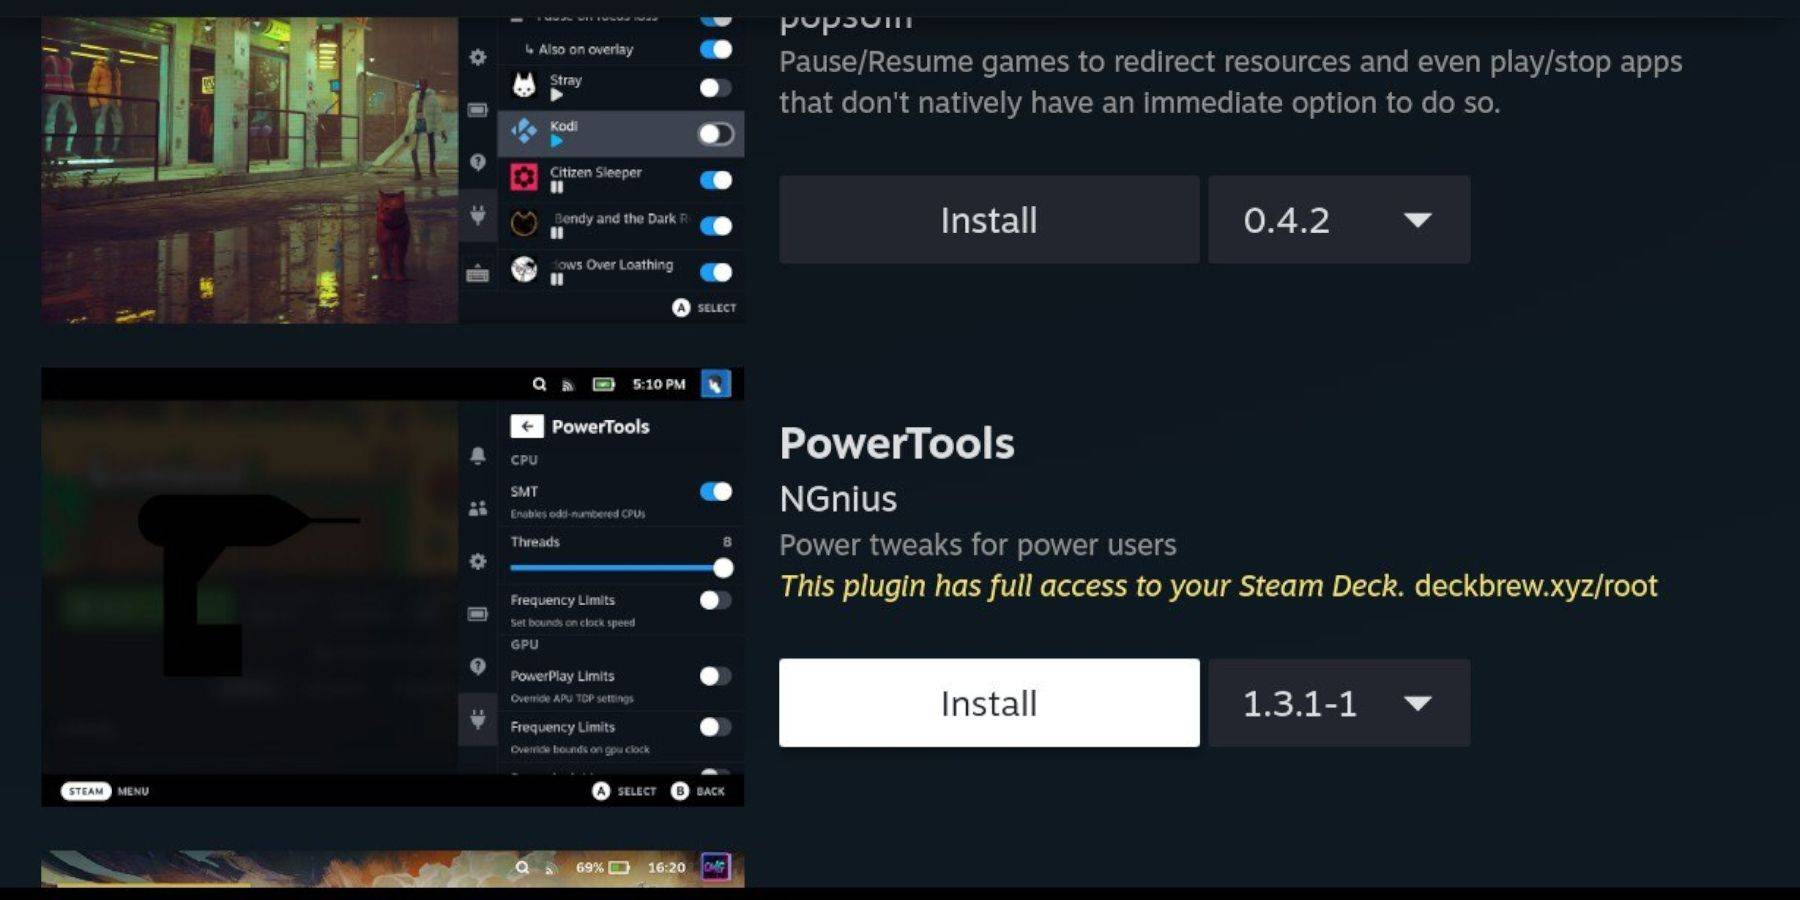 With Decky Loader installed, you can add the Power Tools plugin:
 Major Steam Deck updates can alter menus and settings, potentially removing third-party apps from your Quick Access menu. Here’s how to restore Decky Loader and your plugins:
 Rate NowYour comment has not been saved
Pokemon TCG Pocket: Paralyzed, Explained (& All Cards with ‘Paralyze’ Ability)
Mobile Legends: January 2025 Redeem Codes Released
GWENT: Top 5 Decks for 2025 - Strategies Revealed
Android Action-Defense
Brutal Hack And Slash Platformer Blasphemous Is Coming To Mobile, Pre-Registration Now Live
Pokémon TCG Pocket Is Dropping a Trade Feature and Space-Time Smackdown Expansion Soon
Mythical Island Debuts in Pokemon TCG, Time Revealed
Marvel Rivals Showcases New Midtown Map

Fun games for kids
Download
Fruit Memory by Beat the Odds
Download
Bored Button - Play to Earn
Download
Cross stitch pixel art game
Download
ΛεξοΜαγεία
Download
My Cine Treats Shop: Food Game
Download
SUPERSTAR P NATION
Download
Chan Ba Vuong - Trò chơi dân gian VN
Download
Spider Solitaire Free Game by Appsi
Download
Kemco's RPG Astral Takers Opens Pre-Registration
Apr 28,2026

GTA Online Offers St. Patrick's Day Rewards
Apr 28,2026

Free Fire Anniversary Update Unveiled (Note: Character count meets 50 limit. Original update names retained as proper nouns.)
Apr 26,2026

Nexon, Blizzard Strike Deal for Overwatch Mobile?
Apr 21,2026

Summer Game Fest 2025: Future Games Show Highlights
Apr 18,2026
 Category